Preface: The following was typed while flying at 31000 feet in a small, claustophobic plane from Dallas to Portland, on our approximately 5th rescheduled flight back from South America on a work trip.
If you follow me on Twitter (@kvetchnkitchen), you probably
noticed last week that I was traveling for work. The location where I was
working is quite difficult to get to – at least 3 flights. More flights come
with an increased chance of delays and hiccups. Let’s face it – it’s hard
enough with one flight. Though, to be honest I don’t remember the last time I
took a single flight to get anywhere. It’s been at least a year, I think.
Anywhere for work requires at least 2 (usually 3), and vacations are usually
cheaper with a connection (even SEA à
LAX, because who wouldn’t want to double trip time and fuel cost by laying over
in Salt Lake City but it’s okay because it’s cheaper).
Anyways, I don’t want to gripe too much because I really do
love my job, and I realize that I am very lucky to get these amazing travel
experiences, even if it is just to spend 11+ hours working most days. But the
trips to South America have been the most challenging. The country we visit has
a small airport (4 gates). It averages about 4 incoming and 4 outgoing flights
every day, and with the exception of Miami, it only services other South
American countries. As it is late Spring in the Southern Hemisphere,
thunderstorms are very frequent and prolonged. Basically, we were delayed several
times over and I am writing this on a cramped plane that is on it’s 3rd
of 4 hours but for such a long flight, there is no sight of television monitor,
in-arm entertainment, and I’ve drained the power reading on both my phone and
iPad. So as I sit, going on hour 24 of travel time, tummy rumbling, I tend to
fantasize about what I will make when I get home. Or what I can eat at the
airport. Or if that cough drop in my bag will stop the grumbling. And it’s a
bit much to spend $9 on a questionable Caprese salad. And I would just like to add that
trapping us on a flight with *zero* free entertainment options (not even a terrible, one-sided documentary?)
and then charging $6 per hour for Wi-Fi, but not make charging ports available,
is simple extortion. My butt hurts. My foot is asleep. And I want my two bites
of stale pretzels that I am entitled to!
And the previous rant has nothing to do with anything except
that I’m hungry on this plane and wrists are contorted into weird typing angles
as the man in front of my has his seat fully reclined into my personal bubble
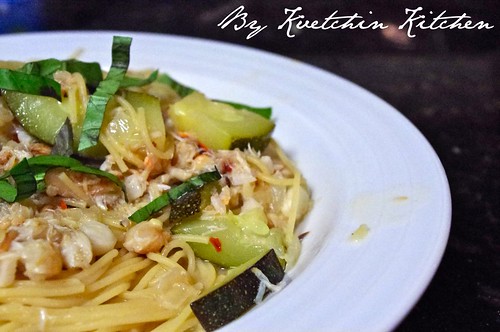
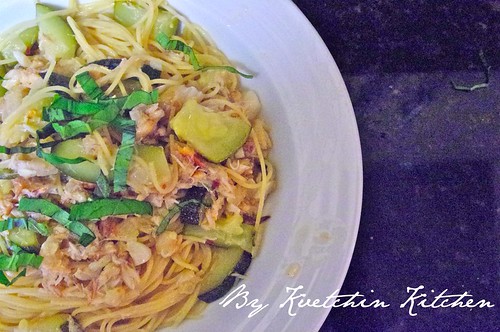
and I have no idea what I’m actually typing. Anyway, onto to the recipe I made
before I left on my work trip. This recipe combines some of my most favoritest
things (in no particular order): butter, garlic, pasta, and crab. And because I
was feeling guilty, I added some zucchini into the final sauté. The recipe
itself has no special story except to say that one day I wanted shrimp scampi
because of my love for butter and garlic, but then the grocery store had a
special on crab, so I went for it.
Note – I was able to find quality, shelled crab at a decent
price. If you cannot, and want to splurge, find a nice whole crab and go
through the work of steaming and shelling (which I certainly would have done
because I am obsessed). If not, you can substitute shrimp, or even some nice
boned white flake fish (like cod… Cod scampi? This post is counterproductive
because now I’m hungrier than ever and we still have 45 minutes until our
descent). If you choose the fish, add it halfway through the zucchini sauté and
then add a lid to the pan to let it steam.
Ingredients:
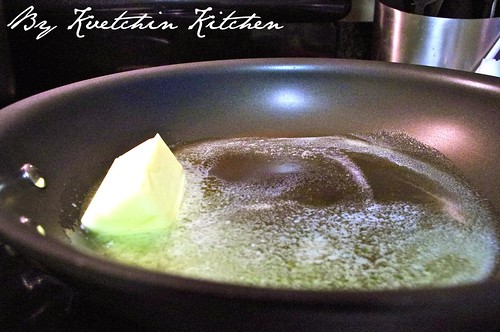
1 stick of butter (stop with the judgey eyes – SURPRISE:
scampi is mostly butter. Let’s move on.)
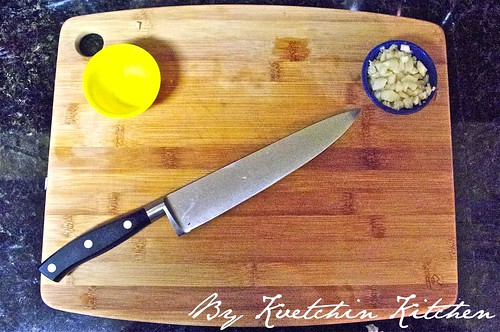
1/2 head of garlic, peeled and minced [about ¼ cup] (use
fresh, please. I will admit to using jarred on many blasphemic occasions, but never in scampi)
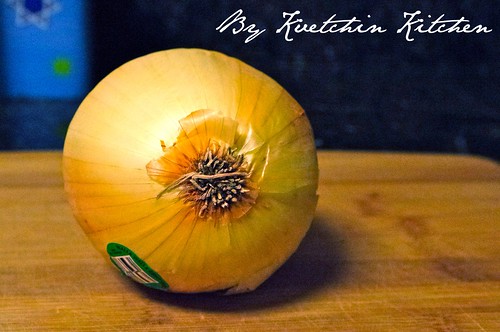
1 large onion, diced (Yellow, brown, or sweet are all fine
here)
2 cups dry white wine, divided (one in a measuring cup, one
in a wine glass)
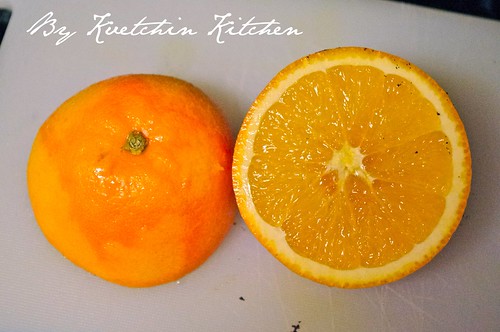
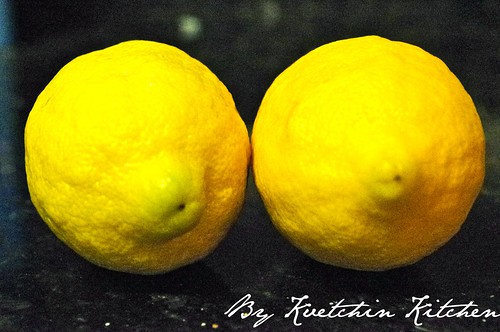
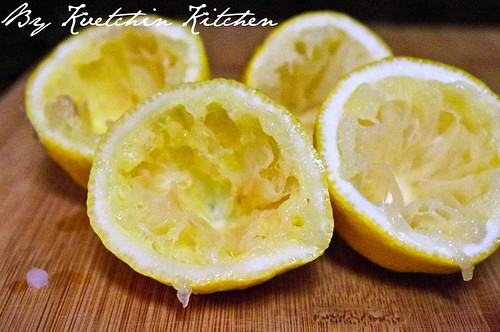
2 lemons, juiced
pinch of red pepper flakes (optional)
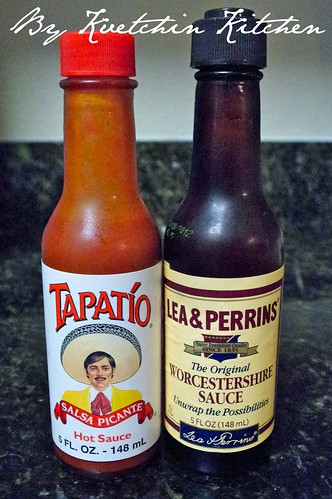
dash of Tapatío
dash of Worcestershire sauce
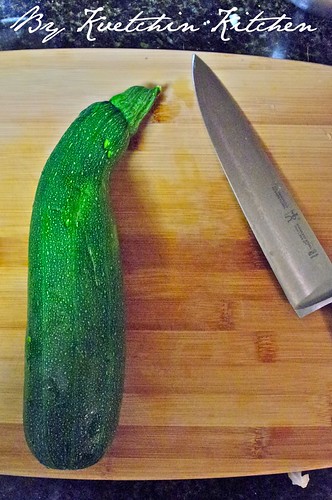
1 large zucchini, halved and thinly sliced
half box of angel hair pasta (you may use whole wheat if
that will make your conscience feel better, but to be honest it won’t do much
for that stick of butter you already put in your pan)
8 oz fresh crab meat, picked through for shells
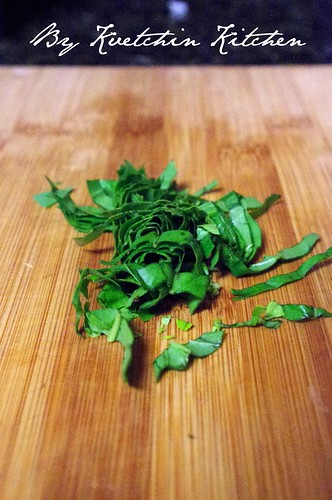
1 Tbls packed fresh basil, thinly sliced
1.
Bring a large pot of salted water to boil.
2.
In a large pan, melt the butter over medium
heat.
3.
Once all melted and starting to foam, add the
diced onion. Salt, and cook, stirring occasionally, until they start to turn translucent,
but before the butter starts to burn. Reduce the heat, if necessary.
4.
Add the garlic, and cook a few minutes, until
fragrant.
5.
Add 1 cup of wine (have you been drinking the
other?), and cook just until the alcohol evaporates (usually about 2-3
minutes). Add the lemon juice, red pepper flakes, and dashes of Tapatío and Worcestershire
sauces, to taste.
6.
Add the angel hair to the boiling water and cook
per package directions (usually about 4 minutes).
7.
Add the zucchini to the scampi mixture. Toss to
combine, and cook until zucchini is tender (usually just about the same time as
the pasta takes to cook).
8.
Add the crab to scampi, and toss to combine.
Toss to combine, place a lid on the pan, and turn off the heat (but leave the
pan on the burner). Let the carry-over heat warm the crab while you drain the
pasta.
9.
Personal preference: I like to toss the pasta
and the whole scampi mixture together in the large pasta pot. Serve, finishing
with the basil.